
The prosthesis must be removed only using a hair solvent specifically designed for this purpose. Never use alcohol, acetone, or any other unsuitable product.
Apply the solvent to the glued areas.
Let it sit for a few moments.
Remove the prosthesis gently, without pulling.
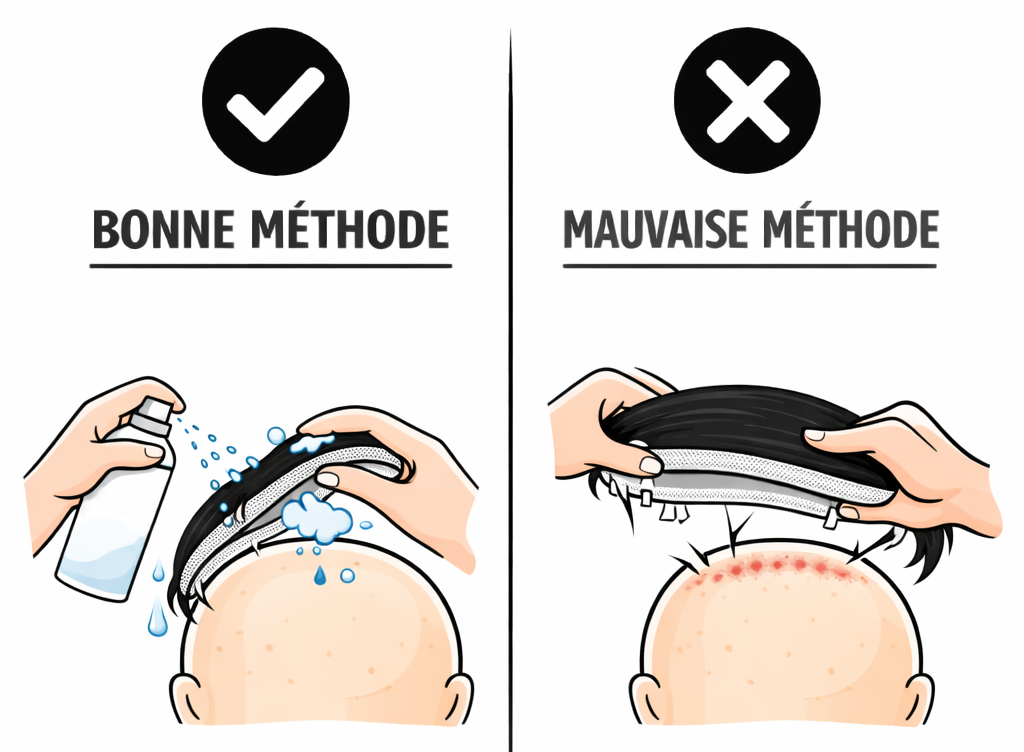
If removal is blocked or there is resistance, it means you need to add more solvent. Removal should always be easy. Forcing it could damage the membrane.
Do 1 to 2 shampoos with lukewarm water. The water must be neither hot nor cold, but lukewarm.
If glue residue remains:
Apply solvent directly onto the membrane.
Leave it on for a few minutes.
Rinse.
Then do 2 full shampoos.
The membrane must be perfectly clean, with no residue.
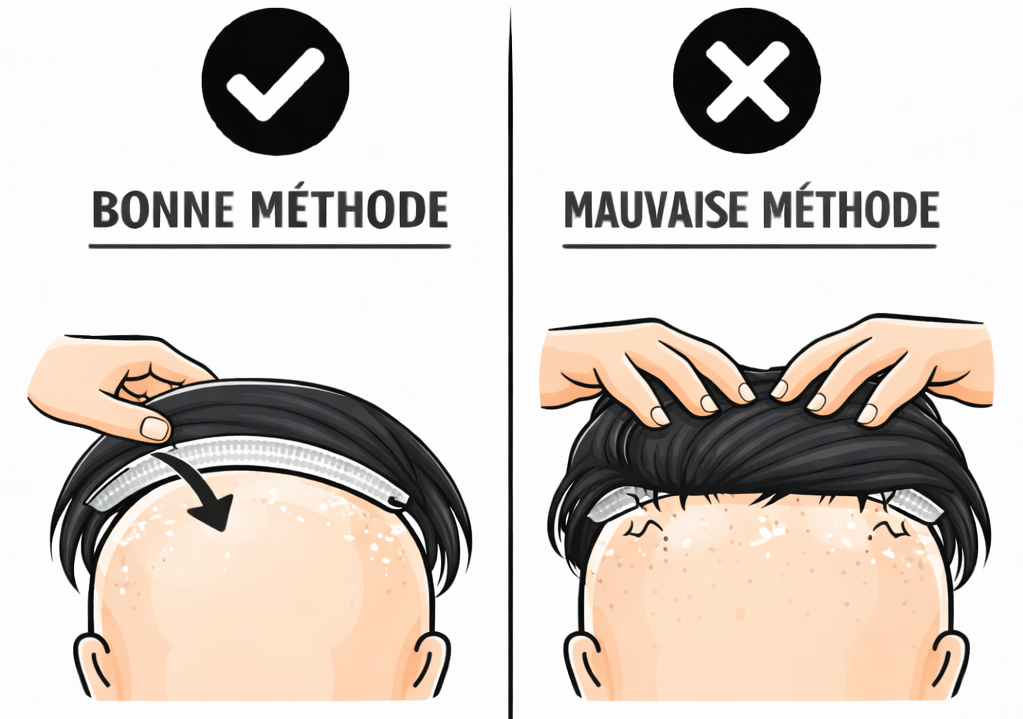
For bases that contain lace, it’s essential to follow the right washing method:
Don’t wash the lace by rubbing from the hair side.
Always clean the base directly from the lace part (the inside of the membrane).
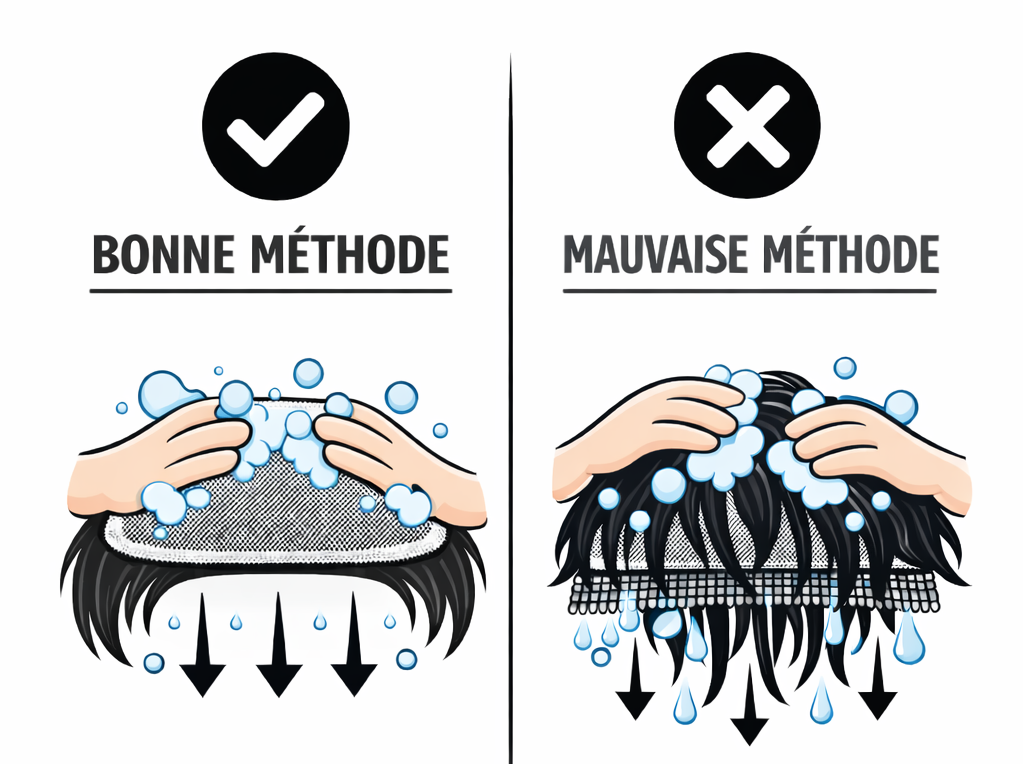
Why? If you wash from the top (hair side), the pressure of the water and the rubbing will push the hair through the micro-perforations of the tulle. Result: the hair will pass inside the base and build up, creating an internal mass that’s hard to remove.
Always work on the membrane side to avoid this issue.
If the color has lost some of its intensity:
Use a color-depositing treatment in the shade you want.
Apply only on the hair.
Strictly avoid any contact with the base or the membrane (risk of stains).
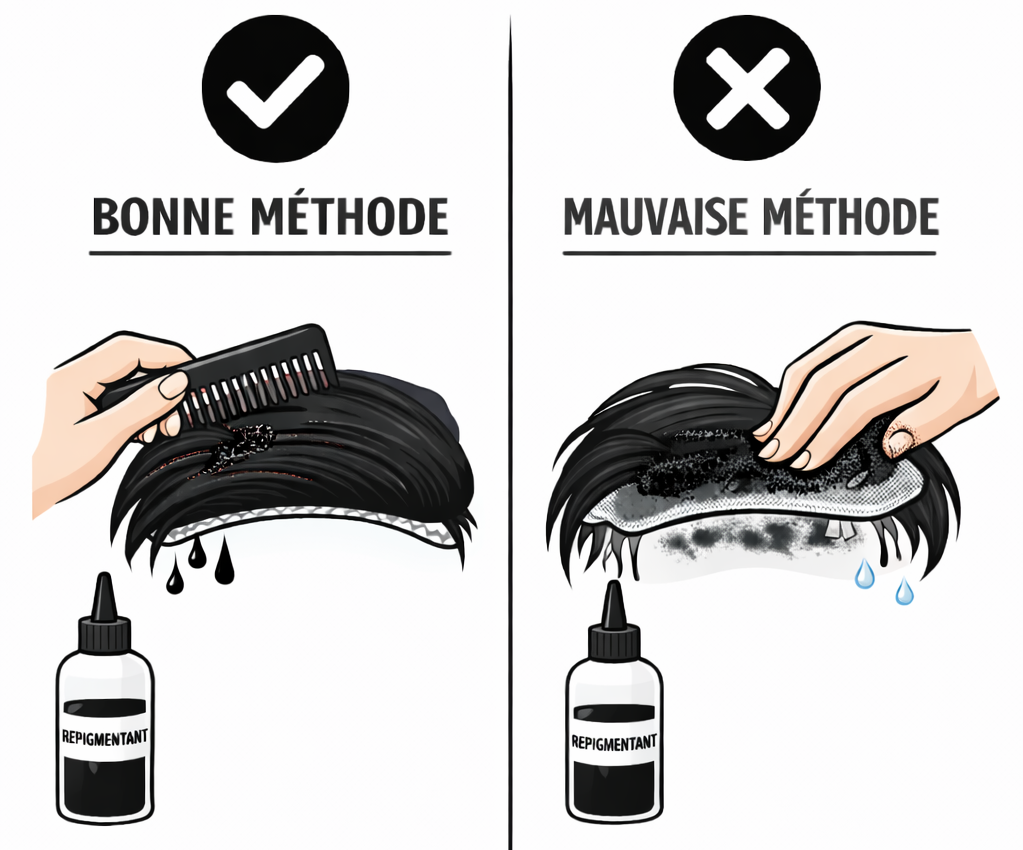
Processing time: 10 to 15 minutes max. Don’t go over this time to avoid the color becoming too dark or sooty. Then rinse with clear water without shampoo.
If no color-depositing treatment is used:
Do a deep moisturizing and nourishing treatment.
Ideally with the professional BYSIX range.
If not, use quality moisturizing products.
The hair of a prosthesis is no longer naturally nourished by the scalp. Hydration is therefore essential.

The scalp must be completely clean, free of sebum, without residue, and without any oily substances. The area must be closely shaved, with clippers without a guard. Do not use a blade.
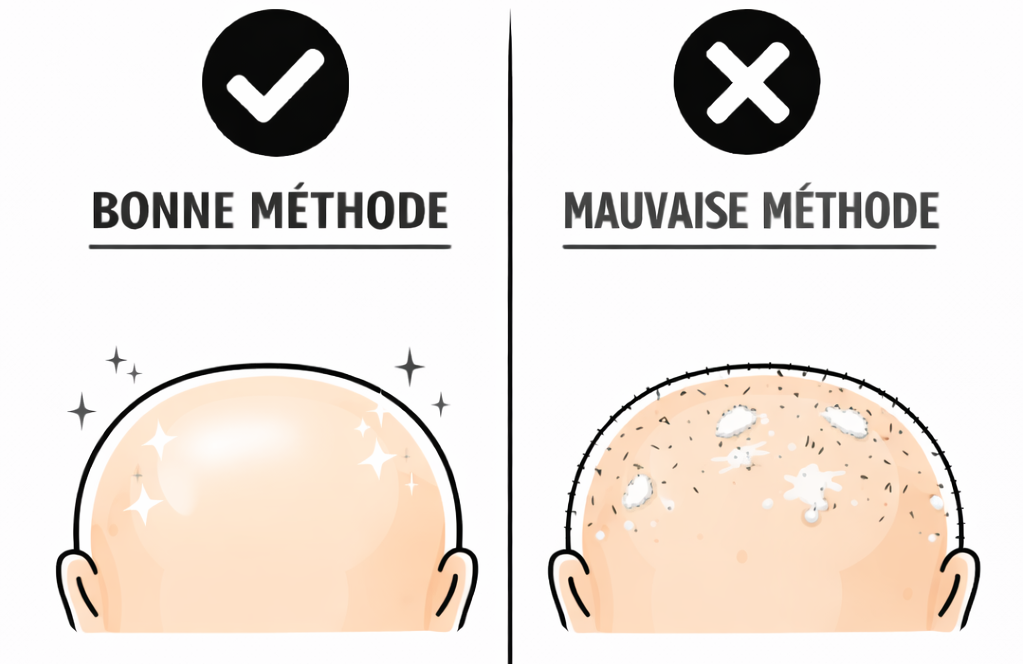
Apply the Ready to Boost skin prep onto a clean cloth.
Gently wipe the shaved area.
Let it dry for a few minutes.
Follow the application instructions strictly:
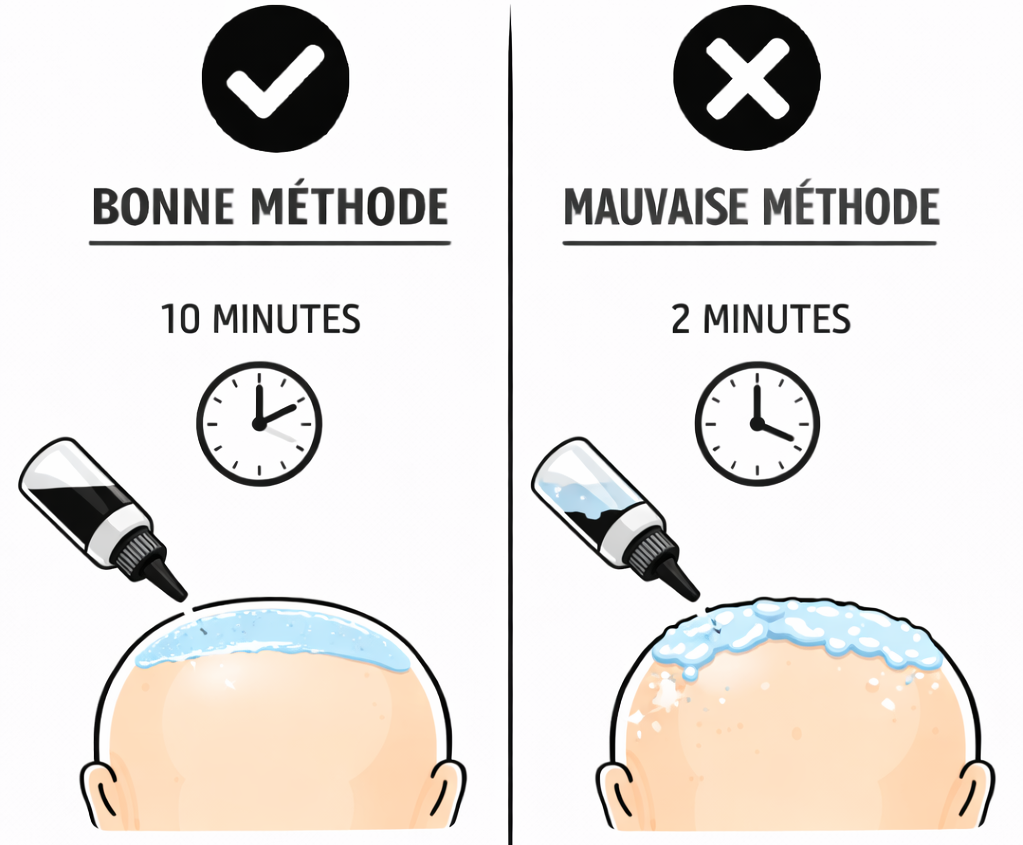
Apply a very thin layer on the scalp.
Let it dry for at least 10 minutes, until the glue becomes completely transparent.
Apply a second very thin layer.
Let it dry again for at least 10 minutes.
While it’s drying, if needed, apply a very thin layer on the polyurethane front edge of the system.

Position the system starting from the front.
Then gradually roll it down toward the back.
Once the system is in place:
Check the edges and the joins.
Make sure everything is perfectly aligned.
Then:
Take a dry towel.
Press firmly over the whole scalp.
Focus on the edges and the entire surface.
This pressure helps optimize adhesion.
Slightly dampen the hair.
Style the hair as usual.
Removal only with a suitable hair solvent.
Never force it.
Lukewarm water only.
Pay special attention to lace bases when washing.
Strictly respect the processing time of the repigmenting product.
Perfect preparation of the scalp.
Thin layers of glue and complete drying before application.
Firm pressure after application.
Thorough monthly maintenance guarantees optimal hold, better durability and a long‑lasting natural look.
